Working with Areas and Panes
You can customize MediaCentral UX by adjusting a layout’s areas and panes. A single area can contain one or more panes. When an area contains more than one pane, the panes are displayed in a tabular format, with one pane on top of the others.
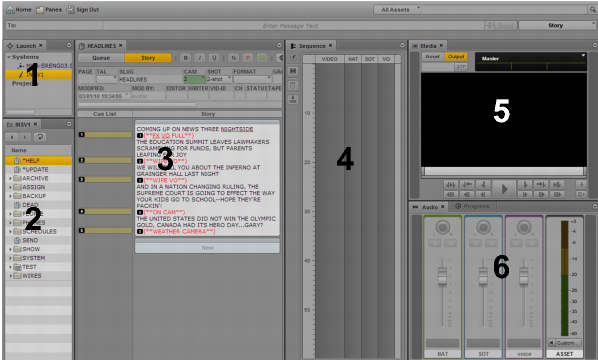
The following illustration shows a typical Story layout. This layout is composed of six different areas and seven different panes. The area in the lower right contains two panes.
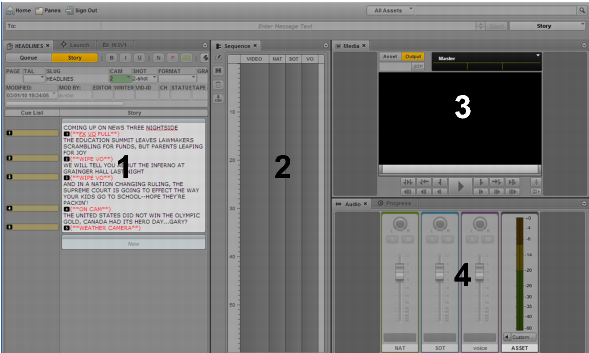
One way to customize this layout is to combine two or more panes into one area, thus reducing the number of areas and allowing more space for the remaining areas. In the following illustration, the layout is composed of four areas and seven panes. The area on the left contains the Queue/Story pane, the Launch pane, and an Assets pane.
You can also move a pane to create a new area. In the following illustration, the Assets pane was moved to the left to create a new area.
If the number of tabbed panes within an area exceeds the area’s space within the browser window, Right and Left Arrow buttons appear next to the Pane Menu button, enabling you to navigate through all of the panes.
You can move panes to save screen space and reconfigure panes in a way that best suits your needs. The application saves the last arrangement and displays it the next time you sign in to the application.
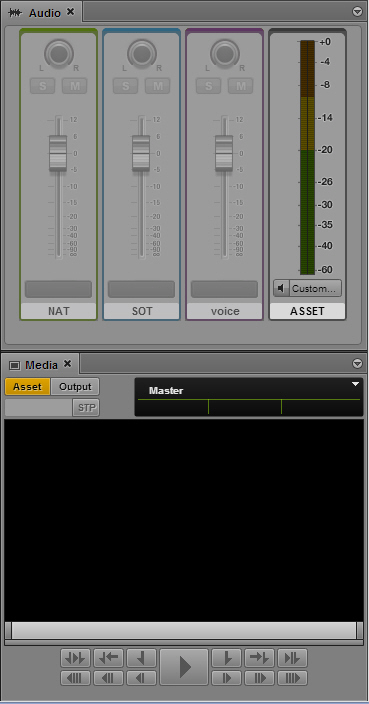
You move panes into what are called drop zones within an area. Each area has five drop zones: center, top, bottom, left, and right.
To move a pane:

Click the pane’s tab and drag it to a drop zone.

Do not click the X in the pane’s tab unless you want to close the pane.
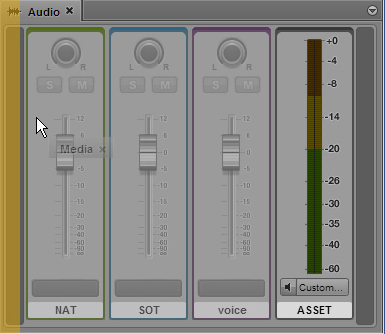
The drop zone is highlighted in orange to help you identify where the pane will be positioned within the window when you release the mouse button.
If you drag the Media pane into the center drop zone, the two panes are displayed as tabbed panes, with only one visible at a time. Dragging to the top or bottom drop zones splits the area vertically. Dragging to the left or right drop zones splits the area horizontally.
Click
Show Me to see a movie of this action.
Drop Zone | Position | Result |
Center | | |
Top | | |
Bottom | | |
Left | | |
Right | | |
Related Topics