Uploading Files as Attachments
You can edit the process attachments within the context of the user task: You can upload files to the task and download attached files from the task. Note the following:
• Which and how many files can be uploaded depends on the configuration of the process to which the task belongs in Interplay MAM.
• You can only cancel the upload for files in status “Waiting” and “In Progress.”
• You can overwrite attached files in status “Waiting,” “in Progress,” and “Completed.”
For each selected task, the Tasks pane shows the number of attachments in the header of the Task Details area. If the number of attachments does not comply with the allowed limits, the “Attachments” count is shown in red. See
Getting Information on Allowed Attachments.
To upload files:
1. Select a task in the Task List.
The Task Details area shows the number of attached items in the header area, and attached items as “asset cards” in the assets area.
2. Do one of the following:

Click the Upload button on the Tasks pane toolbar or click the Pane menu and select Upload File, then select the files to be uploaded in the Open dialog box.
Open the Explorer (Windows) or Finder (Mac), select one or several files and drag them to the Attachment area in the Tasks pane.
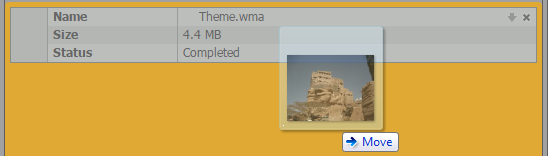
The Attachment area (or the Drop Assets Here area, if there is no attachment until yet) is highlighted in orange, and a Move icon indicates if dropping is possible.
For each file an asset card shows the file name, file size, and the upload status.
The status can be one of the following:
- Waiting: A loading indicator for files that have not been uploaded. A Cancel button is shown beside the loading indicator.
- In Progress: A progress bar during the upload. A Cancel button is shown beside the progress bar.
- “Completed” for successfully uploaded files
- “Failed” for failed uploads
If the same file was already uploaded or is in status Waiting or In Progress, a “Overwrite file” prompt opens. Click Yes to overwrite the original file attachment, click No to keep the original attachment.
To cancel an upload:
Click the Cancel button beside the Loading indicator or progress bar of the file attachment.
The upload is canceled and the attachment’s assets card removed from the assets area.